These commands are done on Windows OS but there are similar for other OS
VirtualBox Error
Cannot register the hard disk 'C:\....' {0f1241a7-fd33-42b9-9cc3-cf6d3fbca470} because a hard disk with UUID {0f1241a7-fd33-42b9-9cc3-cf6d3fbca470} already exist
This error frequently happen when when you duplicate a virtual hdd (copy/paste of vdi file) and trying to create a new virtual machine with this vdi file.
To avoid this, there is multiple solutions :
- Instead of doing a copy/paste, you could clone the vdi and the UUID of new file will be changed
C:\Program Files\Oracle\VirtualBox\VBoxManage clonehd initial_vdi_file.vdi new_vdi_file.vdi
Or if you have already done the copy/paste you could simply change the uuid by this command :
C:\Program Files\Oracle\VirtualBox\VBoxManage internalcommands sethduuid pasted_vdi_file.vdi
Rezing vdi file
Resize file
When you create for the first time your vdi file, you have to choose some options about.
VirtualBox supports two types of image files:
- A dynamically allocated file will only grow in size when the guest actually stores data on its virtual hard disk. It will therefore initially be small on the host hard drive and only later grow to the size specified as it is filled with data.
- A fixed-size file will immediately occupy the file specified, even if only a fraction of the virtual hard disk space is actually in use. While occupying much more space, a fixed-size file incurs less overhead and is therefore slightly faster than a dynamically allocated file.
Whatever your choice, it happens that your virtual machine need more space.
C:\Program Files\Oracle\VirtualBox\VBoxManage modifyhd YOUR_HARD_DISK.vdi --resize SIZE_IN_MB
Once you’ve resized your existing virtual disk, you could restart your virtual machine, and you see ….that there is no change, there is no more space because the partitions of your guest are always the same.
Thus, you need to expand partitions
Expand partitions
To do so we’ll use the GParted partition editor.
If you have created a GParted Live CD or Linux Live CD, place it in the CD/DVD drive on your host machine, and change the settings of your virtual machine to use the host drive as its CD/DVD drive. If you have the ISO for the Live CD, simply configure your virtual machine so that it uses the Live CD ISO file for its CD/DVD drive. Navigate to Settings → Storage to configure the CD/DVD settings for your virtual machine.
Start the virtual machine. The virtual machine should boot from the Live CD.
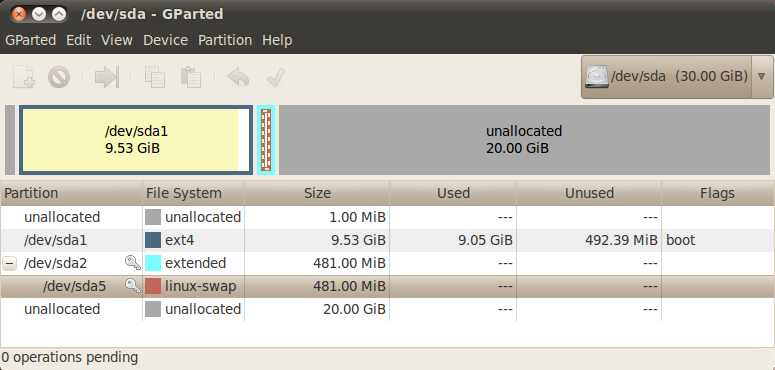
Now that you have launched GParted, in the upper right of the GParted window, make sure the correct disk has been selected — e.g. /dev/sda (30.00GB). Select the partition you want to expand — e.g. /dev/sda1 — and click the Resize/Move button.
In the pop-up window, expand the partition to use the maximum size. You can do so by dragging the right edge of the partition block all the way to the left. Click the Resize/Move button.
If there is a swap partition, you may need to take a few extra steps to ensure that the unallocated space is immediately after the partition you want to grow.
Right-click the swap partition, and select the Swapoff item in the context menu to disable the swap partition. Doing so will unlock the swap partition so that you may modify it.
Select the extended partition that contains the swap partition, and then click the Delete button.
Now you can resize the /dev/sfa1 partition until this maximum minus the swap space you want to use and create a new extended partition (Extended type) and add in this one a new linux-swap.
Changes done, you could click on apply and restart your virtual machine.
Ubuntu Guest
It happens on Ubuntu Guest system the error “The system is running in low-graphics mode” when you try to boot your system
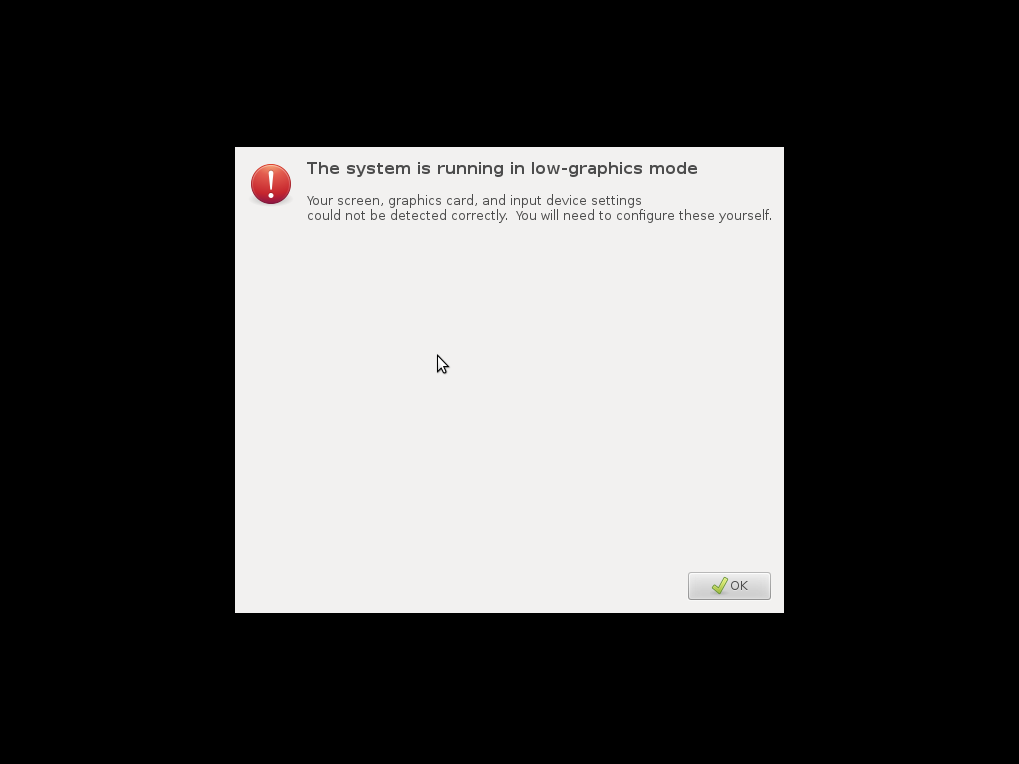
Press Ctrl+Alt+F1 to see the terminal one. Then login with your credentials, and then run the following commands:
sudo apt-get install fglrx
sudo reboot
(only works for ATI graphics cards ??)
The same can be done from the recovery mode (after enabling networking), if your Ubuntu completly refuses to enter anything but recovery mode.